Beetleball Advanced Tech
The techniques that separate good players from great ones — and why they are not exploits.
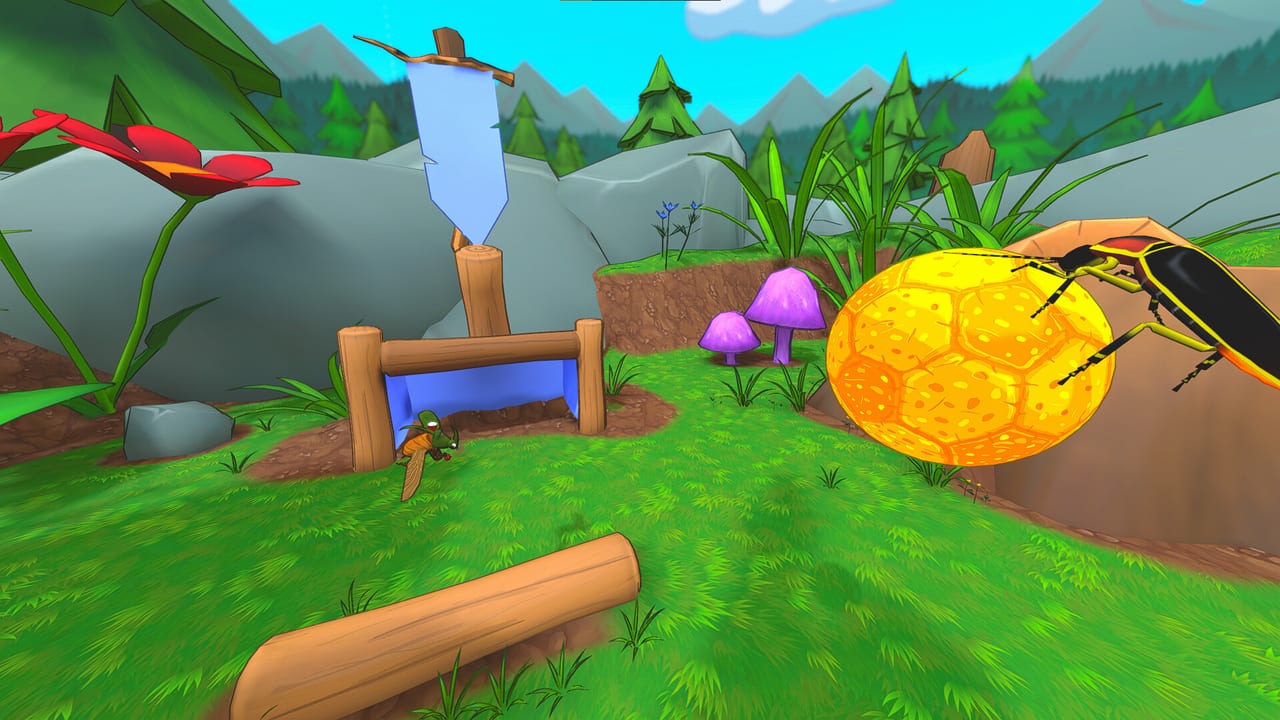
A tech in Beetleball is any advanced maneuver, exploit, or technique that goes beyond a beetle’s basic moveset. The vast majority of players at most levels use tech to move faster, score harder, and win more consistently. Tech is not cheating. It is using the game’s physics the way it was designed to be used.
Steam Early Access launched on 3 September 2026. You already know the basics from Movement Tech: sprint, flutter, glide, wall-walk, and headbutt grab. This page is the layer above — the strings, the tricks, and the reads that make the difference in a close ranked lobby.
Momentum Transfer: the foundation
Momentum Transfer is the most basic tech that appears in every match at every level. It is the technique of converting speed from one source into speed with the ball.
The setup:
- Throw the ball up.
- Headbutt up to meet it.
- Grab midair.
- Drop (left click again) while falling forward.
- Glide diagonally down into the ball — look down.
- Grab as you hit it, as perpendicular as you can manage.
You now have glide speed converted into on-ball speed. A slow gold becomes a fast gold. A fast gold becomes a shot the enemy goalie cannot read.
Smaller versions work: throw a short hop, glide in, grab. Do it off a slope so the ground adds speed. You cannot do it if you grab too early and kill the glide, or if you look at the sky and float. Wait for the grab cooldown before the second grab.
The video on this page shows Momentum Transfer and Speed Grab in detail.
Speed Grab: dash and grab combined
Speed Grab combines a dash with a grab in one motion. The sequence:
- Use an off-ball dash (Dash, Flight, Teleport Grab, Sonic Boom, Parasailing).
- While in the dash, grab the ball.
- The grab fires during the dash — you keep dash speed into possession.
For Dung: off-ball Dash adds speed without resetting momentum. Fire it in the jump-to-flutter beat for a flutter dash, then grab during the burst. That is a dung rush — flutter-dash speed with gold in hand.
For Ladybug: off-ball Flight is a meter. Spending it in the direction of the ball gets you there faster than sprinting.
For Click: off-ball Sonic Boom catapults Click up and shoves neighbors. Using it toward the ball starts a click shot.
The key is timing: the grab must fire during the dash, not after. Practice the rhythm in custom before using it in ranked.
Air Stall: vertical height mechanic
Air Stall is used to gain height with a ball by headbutt-grabbing straight up and stalling at the apex, then dropping the ball on purpose when the next string is ready.
The rule: do not headbutt-grab straight up and lose the ball at the peak. If you need height with possession, jump as you release, stall with the ball still yours, then drop it on purpose.
Air Stall is useful when:
- You need to wait for a teammate to get into position
- You want to draw out a goalie who is waiting for a shot
- You are setting up a pass that needs height
It is not a goal by itself. It is a pause.
Headbutt Grab: the one-second window
This was covered in Movement Tech but it is the foundation of half the tech on this page, so it gets a second call-out here.
- Get a ball close.
- Left click to open the one-second grab window.
- Right click into the ball while the window is live.
You pick up the ball during the headbutt and keep the headbutt’s speed. From rest, this is faster to set up than a full Momentum Transfer and slightly less fast at the top end.
You can also hold right click and tap grab while charging, as long as the grab still exists when you collide.
Headbutt grab is also defense. A keeper who left-clicks the incoming gold and headbutts through it is using the same window on a shot.
Pinch: surface launches
Pinch is pushing the ball between yourself and a surface to launch it at speed. The beetle’s body acts as a third wall.
For Click: the long body is a natural pinch tool. Line the thorax through gold and a wall and you score angles that Dung cannot see.
Setup:
- Carry gold toward a wall, ceiling, or prop.
- Position so the ball is between your body and the surface.
- The collision launches the ball — release or keep holding depending on the angle you want.
Pinch is how you score from tight angles. It requires being close to geometry, not just having momentum.
Boost: knockback assist
Boost is using knockback to launch an ally or the ball. It works by applying knockback to a teammate’s beetle in a direction, sending them faster than they could sprint.
Common uses:
- A defender boost a carry toward the enemy net
- A support boost a gold-holder into a better shooting angle
- Using a knockback ability on a teammate (not the ball) to reposition them
Bombardier’s Goop Turret and Weevil’s Snout Vacuum can both be angled to boost allies. Firefly’s Kamikaze can boost if timed correctly.
Wavedash: universal flutter dash
A wavedash is a flutter dash usable by any beetle, not just Dung. The idea is to get airborne, tap sprint during the brief window before flutter engages, and use that speed burst.
The execution:
- Jump.
- Before flutter activates, tap sprint.
- Flutter activates — you have sprint speed plus flutter hang time.
Not all beetles benefit equally. Dung’s off-ball dash already does this. For beetles without an off-ball dash, a clean wavedash is the closest equivalent.
Click Shot: boom next to a ball
Click’s off-ball Sonic Boom, when fired next to a ball, starts a Click Shot. The boom’s shockwave hits the ball and propels it.
Usage:
- Fire Sonic Boom next to a ball, not at nothing.
- The ball receives the knockback vector of the boom.
- You can aim the boom to direct the shot.
High ping can own-goal with Click Shot because both the catapult and boom move the ball before your client agrees where it is. Stay goal-side before you catapult.
Cannon: object-assisted shots
Cannon is shooting the ball with an object to give it extra momentum. The object — a wall, a prop, a ceiling — adds its own vector to the ball’s trajectory.
Usage:
- Throw or headbutt the ball at a surface.
- The surface redirects the ball.
- You can steer by choosing which part of the surface hits first.
Egypt’s pyramid bounce is a cannon: throw or headbutt dung into a face, ride the redirect, headbutt grab the rebound. The pyramid is the cannon.
Drop: directional ball placement
Drop is dropping the ball so it automatically moves in a direction. Instead of throwing, you release the grab at a specific angle to place the ball where you want it.
Usage:
- Drop a ball onto a slope so it rolls
- Drop a ball off a ceiling so it falls toward the enemy goal
- Drop a ball at a specific height for a teammate to grab
Drop is underused. Most players throw when a well-timed drop would place the ball cleaner.
Pop-Up: height for any beetle
Pop-Up is a simple way to gain height available to all beetles without using a class-specific ability.
Execution:
- Jump.
- At the apex, tap grab (not headbutt).
- You pop up slightly higher while still holding the ball.
It is small, but it is free. No cooldown, no meter. Use it to buy half a second of height when you need to see over a wall or set up a pass.
Regrab: steal and hold
Regrab is grabbing the ball right after an opponent loses it — stealing the drop before it lands or stabilises.
This is a timing read. When an enemy:
- Drops a ball (intentionally or from a stun)
- Fumbles a headbutt-grab
- Gets knocked off a ball by a teammate
You move to that ball immediately and grab. Regrab is faster than a full Momentum Transfer and does not require setup. It is a reaction.
Tiger’s Teleport Grab is a ranged regrab — it moves you to the ball, not the ball to you.
How to practice tech in custom lobbies
Tech is not learned in ranked. Open a custom lobby, set the map to Picnic, and drill:
- Momentum Transfer until it is boring — 10 clean transfers in a row.
- Speed Grab with your main class — feel the dash-grab rhythm.
- Pinch on the cake and table lips — find the angles.
- Regrab on loose balls your practice partner feeds you.
Only after those four feel automatic should you add Air Stall, Pop-Up, or Drop to your ranked vocabulary.
Which tech is essential
Community consensus on the external wiki marks Momentum Transfer and Speed Grab as the two essentials. Every other tech here is powerful but not required to play well at high levels. Learn the foundations first.
Movement tech names used in this article: flutter dash, dung rush, dolphin dive, ground pound, meter fly, SE4, Click launch. Class kits are on Players. Ranked habits are on Ranked Matchmaking.
Frequently Asked Questions
Quick answers for Beetleball players.
What is the most important tech to learn first?
Momentum Transfer. It appears in every match at every level and is the foundation for Speed Grab and Headbutt Grab.
Is tech cheating or exploiting?
No. Tech uses the game's intended physics — momentum, knockback, and geometry. Bugfight has not patched these out.
What is Speed Grab?
Using a dash and a grab in the same motion so you keep dash speed into possession. Works with Dash, Flight, Teleport Grab, Sonic Boom, and Parasailing.
How do I Air Stall without losing the ball?
Jump as you release the ball, stall at the apex, then drop intentionally when the next string is ready. Do not headbutt-grab straight up without a plan.
Which beetle benefits most from tech?
Dung (flutter dash, dung rush), Weevil (regrab via magnet), Click (pinch), and Longhorn (antenna swing). But every beetle can use Momentum Transfer.